Construction & development
Plan company identification, the project name or a proposed graphic across the street-facing runs. Keep essential messages together within a panel. Include screening when planning temporary fence rental.

Your project. Your identity. Across the Southeast.
Make your perimeter part of the presentation.
Put your company, team or sponsors where people can see them. Byron Fence helps coordinate printable material, panel dimensions and artwork details for a fence line that looks intentional.
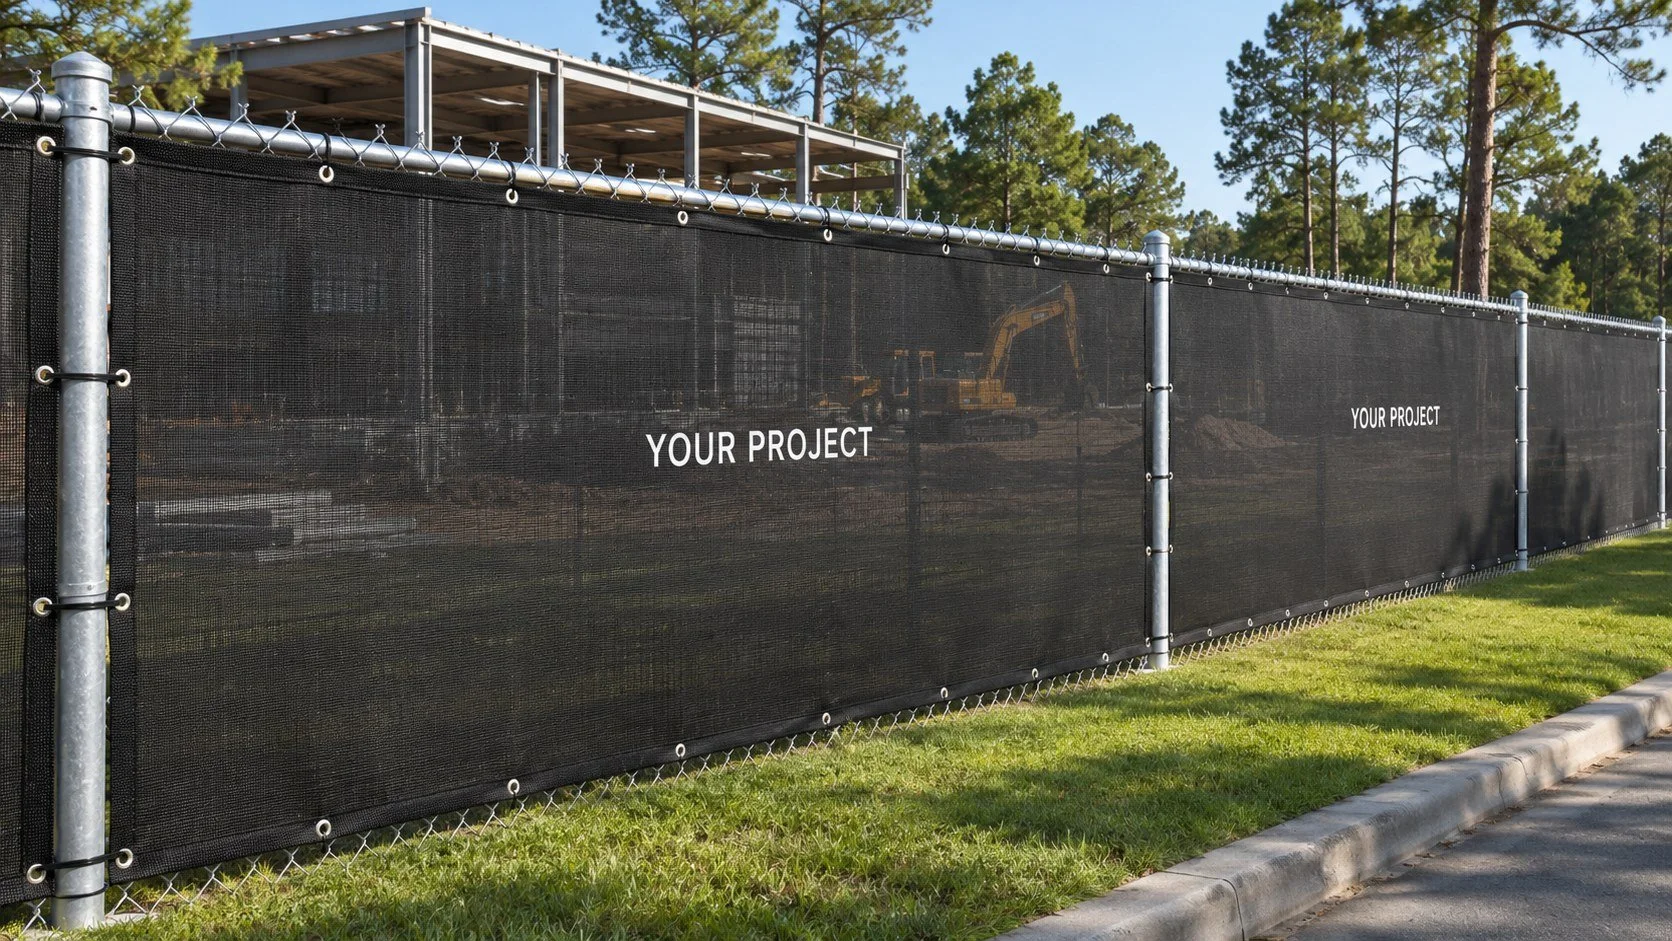
A gate opening, a panel seam or the wrong viewing direction can interrupt the message you wanted people to see.
Start with a layout. Mark the fence runs, openings and printed panels, then decide what belongs on each. We help you bring the material and artwork requirements into one project scope before you order.
Choose the message people should remember
Plan company identification, the project name or a proposed graphic across the street-facing runs. Keep essential messages together within a panel. Include screening when planning temporary fence rental.
Carry team names, colors and approved logos across courts, dugouts or field perimeters. Coordinate adjacent areas so the graphics feel like one facility. Include athletic netting where needed.
Give each sponsor a defined place in the layout. Confirm logo order, relative size and spacing. Separate panels can organize different messages; identify what may need replacing as sponsors or project details change.
Choose the surface for your graphics
Printing is available on these four material families. Compare the exact product, background color and intended application before finalizing the artwork.
The polypropylene options in our broader range are unprinted. Compare all windscreen materials, including nominal screening descriptions and finishing considerations.
Have a logo but no finished layout? Send the original file if available, your brand standards and a sketch of the fence. Explain whether graphics repeat on every panel or appear only at selected locations. Identify who will approve the artwork so feedback can be collected before production.
Keep this beside your artwork proof
Check spelling, approved logo versions, contact details and sponsor names against the original files.
Identify brand colors and background preferences. Confirm how color expectations will be reviewed for the selected material.
Check each graphic’s position and size within its panel. Keep the main message easy to pick out.
Mark where panels meet. Avoid splitting a name or important graphic across a break unintentionally.
Give gates their own dimensions and artwork instructions. Account for access openings and other interruptions.
Identify the intended viewing side and panel sequence. Label the street, court or field side clearly.
Keep a numbered panel schedule with the approved layout. For a long fence, label sections in installation order and match those labels to the drawing. Mark unprinted areas deliberately so the finished run follows your plan.
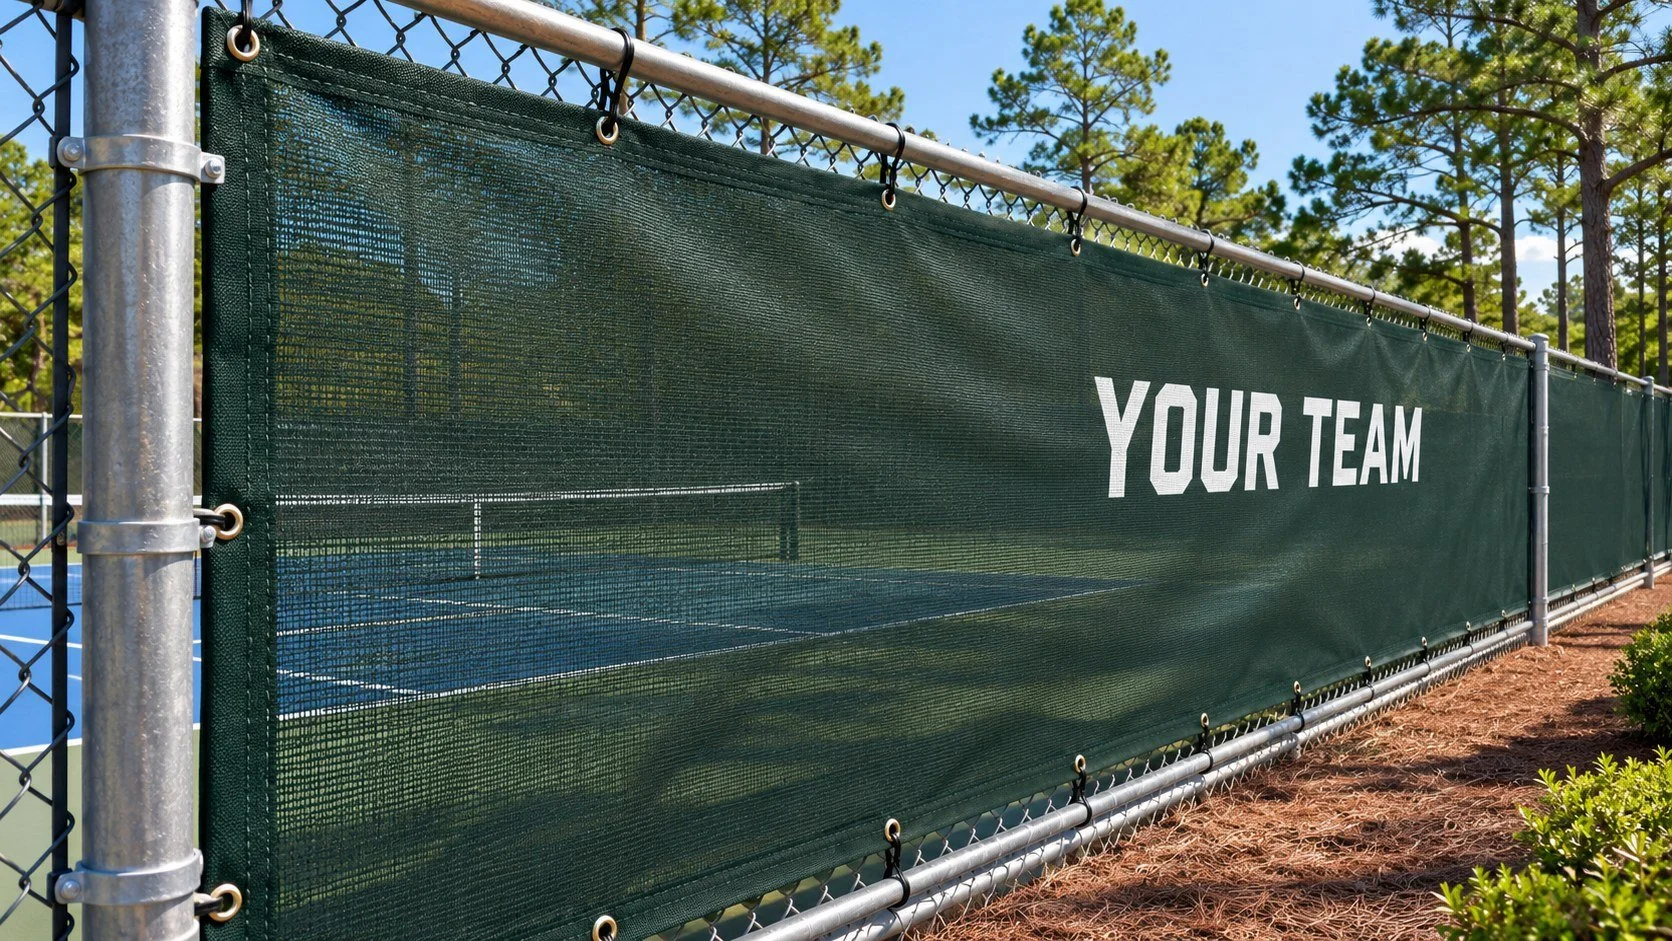
Include dimensions, quantity, application, delivery ZIP and target date. Label printed panels and explain the intended message. Build your section list with the project planner, or use the windscreen measuring guide.
Share the best available logo and artwork files. Confirm file requirements, layout assistance and the proof approval process in your quote. Use the checklist before authorizing production.
Review material, finished sizes, printing, borders, attachment supplies and freight together. Confirm production and estimated transit timing for the specific order.
Tell us what you want people to notice. We will help define the printed-screen scope for your project and prepare a delivered quote.
Southeast product supply. Nationwide shipping. Installation, where available, is quoted separately.